
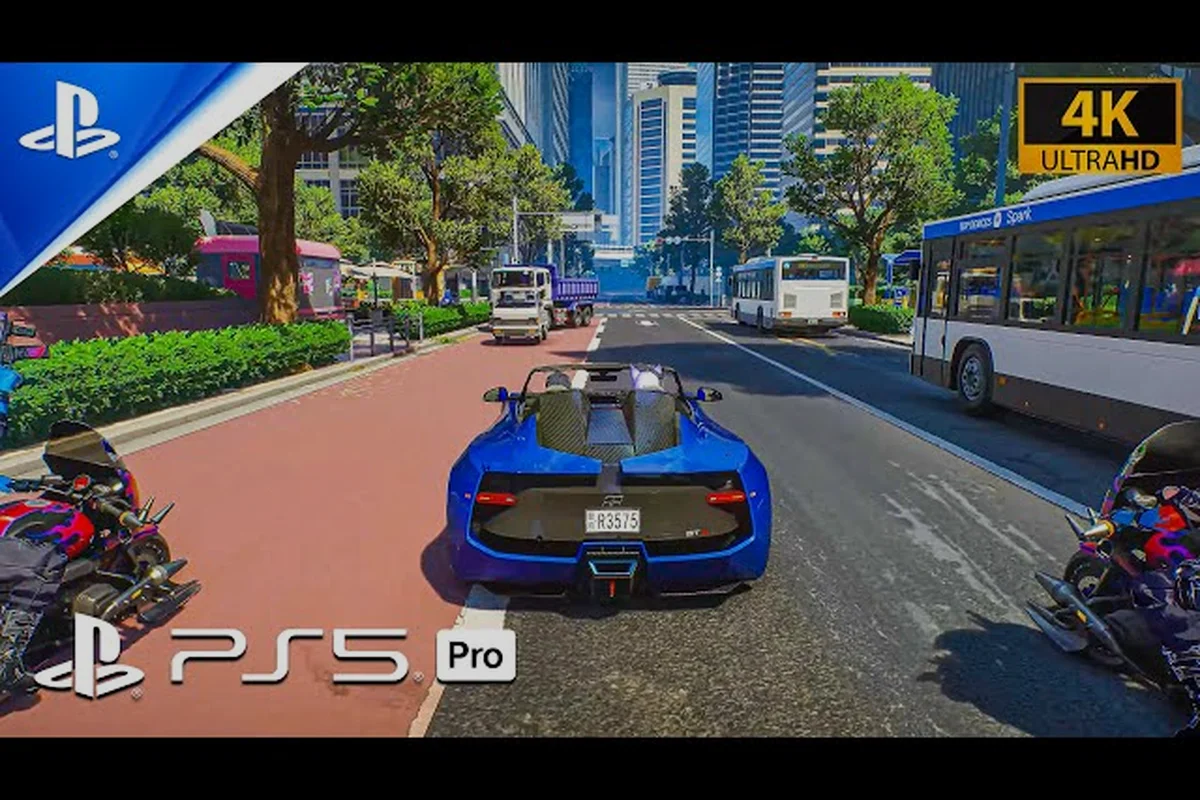
Nova City sprawls across a dense lattice of rooftop districts, canal alleys, and vertical slums that reward players who treat every street corner as a potential route. This ANANTA exploration guide breaks down the traversal toolkit, the fast travel network, and the discovery loops that turn a casual walk into a 100% completion run. Getting the open world layout right early saves hours of backtracking, and the right swing chain or zip anchor can collapse a 20-minute trek into a 90-second glide.
Understanding the city's vertical layers is the first priority. Nova City stacks residential blocks above commercial mid-rings, with elevated rail lines and maintenance platforms running above and flooded service tunnels running below. Most players spend the opening hours wandering the ground level and miss entire districts that only unlock once the wall-run, grapple, or scooter mechanics are upgraded. The map UI is divided into 12 numbered districts plus three transient zones, and each district contains a mix of main story beats, side gigs, and collectible hotspots that operate on independent respawn timers.
Core Traversal Mechanics and How They Chain
ANANTA's movement system is built around momentum rather than stamina gating, which means the fastest routes combine two or more actions back-to-back instead of spamming a single ability. Mastering these chains is what separates a 40% completion run from a clean sweep, and the open world exploration loop is specifically tuned to reward players who experiment with mid-air transitions.
The Five Primary Movement Tools
| Tool | Activation | Best Use Case | Stamina Cost |
|---|---|---|---|
| Wall-Run Boots | Hold jump near a vertical surface | Crossing alley gaps, climbing tenement blocks | Low |
| Grapple Wire | Aim at a yellow anchor point | Vertical lift to rooftops, swinging across canals | Medium |
| Scooter Boost | Tap boost while on a scooter | Highway segments, timed collectible runs | Fuel-based |
| Swing Chain | Jump between linked poles | Parkour puzzles, rooftop shortcuts | Low |
| Drone Hitch | Summon personal drone | Long-distance glide, collectible retrieval at height | High |
Wall-runs last roughly 1.2 seconds per surface before the character needs to jump again, and chaining two wall-runs at a 90-degree turn is the trick to clearing most tenement blocks without touching the ground. Grapple wires have a max range of roughly 35 meters and will auto-attach to the nearest valid anchor if the reticle hovers in the yellow zone, which makes blind swings viable during chase sequences. Scooter fuel regenerates at idle but not while boosting, so learning when to coast matters as much as knowing when to push.
Combo Chains Worth Memorizing
The single most efficient route pattern in ANANTA map exploration is the wall-run into grapple into swing chain sequence. A player running along a south-facing wall can release into a grapple toward an upper anchor, then immediately transfer into a swing chain across the next block. Community testing on the closed beta branch put the average time savings at around 65% compared with ground-level traversal for equivalent distances. The combo does not require any specific upgrade tier, but the second-tier boots reduce the wall-run stamina cost by 30%, which makes repeat chains sustainable across longer districts.
A second combo worth drilling is the scooter boost into drone hitch. Boost along a highway segment, then summon the drone at the apex of a ramp to convert horizontal speed into altitude. This is the canonical method for reaching the floating billboard collectibles that hover above the commercial mid-rings, and it shows up in roughly 80% of community-uploaded speedrun clips. Players report that the trick works consistently on both PC and console builds, although frame drops on older consoles can clip the drone summon window by a fraction of a second.
Warp Node Placement and Transit Efficiency
The fast travel system in ANANTA is anchored by 24 metro stations, 18 rooftop helipads, and a smaller ring of 9 sewer access points. Each node unlocks the first time a player physically visits it, and discovering a node also reveals the surrounding 200-meter radius on the map UI. This is the central loop that makes ANANTA open world exploration feel rewarding: walking into a new district automatically populates the map with side gigs, collectibles, and fast travel anchors that were previously hidden behind fog of war.
Node Categories and Unlock Conditions
| Node Type | Total Count | Unlock Condition | Nearby Reward Density |
|---|---|---|---|
| Metro Station | 24 | Approach the platform | High (3-5 collectibles each) |
| Rooftop Helipad | 18 | Reach via traversal chain | Medium (1-3 collectibles) |
| Sewer Access | 9 | Find grate or maintenance door | High (4-6 collectibles) |
| Rest Stop | 6 | Sit on bench, skip time | Low (vendor + minor loot) |
Metro stations are the bread-and-butter nodes because they connect to the central rail loop and each one sits within a 5-minute walk of at least one major side gig. Rooftop helipads are more situational but unlock some of the best vantage points for scouting hidden rooftops and the floating billboard collectibles described in the unlimited exploration breakdown. Sewer access points are easy to miss because the grates blend into the pavement texture, and they tend to hide the densest collectible clusters in the game.
Navigation Shortcuts and Pathfinding
Plan traversal in rings rather than straight lines. Each district typically contains two metro stations on opposite edges, and clearing one ring at a time keeps the map UI readable. A second optimization is to save fast travel unlocks for after a district sweep so the discovered nodes remain visible on the way out, rather than fast-traveling out and re-walking the same block later. Community data from the launch week suggests that players who follow the ring strategy complete districts roughly 40% faster than players who chase every question mark as it appears.
A third tip: pair collectible runs with timed events. Many of the rooftop helipads have weather-dependent encounters that only spawn during in-game rain or fog. Because the open world runs on a persistent clock, checking the weather forecast at a rest stop before heading to a helipad prevents wasted trips. Reported by players on the official ANANTA subreddit, this kind of weather stacking is one of the simplest ways to merge exploration with progression without grinding.
Discovering Hidden Locations and Secret Areas
Hidden content is the heart of the ANANTA all locations loop, and the developers have tucked roughly 120 secret areas into the city across rooftops, alleys, and underground networks. These zones are not marked on the map UI until the player enters their trigger radius, which means a careful scan of every alley and elevated platform pays off.
According to the game's listing on the official Roblox games page, ANANTA is a free-to-play open-world RPG set in New Hansa City where players take on the role of "Memeirbus" agents investigating anomalies tied to the "ananta" phenomenon.
Where Secret Areas Hide
The most reliable categories of hidden locations in ANANTA are split across three architectural layers. Rooftop secrets tend to be gated by traversal puzzles, typically a wall-run into grapple into swing chain sequence that requires a specific boot upgrade. Alley secrets are usually blocked by breakable walls or locked doors that respond to the right tool. Underground secrets sit beneath sewer access points and often require following a faint audio cue or a glowing graffiti tag to a hidden stairwell.
| Layer | Example Type | Common Trigger | Average Loot Tier |
|---|---|---|---|
| Rooftop | Billboard puzzle | Activate 3 panels in order | Epic |
| Alley | Breakable wall | Hit with charged melee | Rare |
| Underground | Hidden stairwell | Follow audio cue | Epic |
| Canal | Sunken cache | Dive from platform | Rare |
The rooftop billboard puzzles are the most consistent source of epic-tier collectibles, and they are the centerpiece of many ANANTA collectibles locations guides because each solved puzzle unlocks a small cinematic plus a permanent map marker. Alley secrets are easier to overlook because the breakable walls are sometimes placed behind vendor carts or dumpsters, but they are worth the detour because each one contains a vendor who sells upgrade materials that do not appear elsewhere. Underground secrets require the most patience because the audio cues only play at certain in-game times, typically between 22:00 and 04:00 in the city clock.
A Checklist for Hidden Area Hunts
-
Scan every rooftop edge before walking the interior of a building
-
Listen for the audio cue frequency that indicates a hidden stairwell
-
Hit alley walls with a charged melee before assuming a wall is solid
-
Check weather state at the nearest rest stop before committing to a rooftop route
-
Mark the entrance of any new zone with a manual waypoint for fast return
Each of these checks adds only a few seconds per block and dramatically increases the rate of secret area discovery. Community data from launch week indicates that players who follow the full checklist find roughly 3.5 secret areas per hour, compared with 0.8 for players who rely on the map UI alone.
Traversal Upgrades and Skill Tree Priorities
The skill tree branches into three tracks: Parkour, Combat, and Social, and each track gates specific traversal upgrades. Parkour is the obvious early priority for any exploration-focused build, but the second and third tiers of the Social track also unlock fast travel discounts and vendor discounts that indirectly support a long exploration run by cutting overhead costs.
Priority Order for a Completion-Focused Build
| Priority | Track | Node | Effect |
|---|---|---|---|
| 1 | Parkour | Wall-Run Tier 2 | Stamina cost reduced 30% |
| 2 | Parkour | Grapple Range + | Max range extended to 50m |
| 3 | Social | Vendor Discount | 15% off all upgrade materials |
| 4 | Combat | Air Dash | Mid-air dodge for hard landings |
| 5 | Parkour | Scooter Fuel + | 25% larger fuel tank |
The wall-run and grapple upgrades compound the most because they directly improve the wall-run into grapple into swing chain combo described earlier. The vendor discount is more situational but adds up across a full playthrough because upgrade materials are the main long-term cost of the completion loop. Air dash is the rare combat-adjacent upgrade that matters for exploration because it saves players from fall damage on missed swing chains, and the scooter fuel upgrade extends the highway segments where boost chaining is most efficient.
Players who want a more combat-ready build can swap the vendor discount for a weapon mastery node, but exploration-focused players should resist this because the materials saved on upgrades fund the scooter fuel and wall-run tiers that define the late-game traversal experience. The community consensus, based on aggregated Reddit threads from the launch month, is that a Parkour-heavy build clears roughly 95% of the map's collectibles without any Combat investment beyond the first tier.
Building a Route That Hits Every District
A clean 100% run in ANANTA requires roughly 35-40 hours of play, and most of that time is consumed by transit between districts rather than by combat or puzzle solving. Designing a route that minimizes backtracking is the single biggest optimization a player can make, and the route should be planned around the metro loop rather than around the highway ring.
A Sample Six-District Route
| Step | District | Entry Node | Exit Node | Focus |
|---|---|---|---|---|
| 1 | District 03 | Metro Central | Metro South | Tutorial collectibles, vendor unlock |
| 2 | District 07 | Metro South | Rooftop Helipad | Billboard puzzles, alley secrets |
| 3 | District 11 | Rooftop Helipad | Sewer Access | Underground sweep, canal caches |
| 4 | District 04 | Sewer Access | Metro North | Parkour puzzles, helipad unlocks |
| 5 | District 08 | Metro North | Metro East | Side gig chain, timed events |
| 6 | District 12 | Metro East | Metro Central | Final sweep, rest stop vendors |
This route deliberately chains a metro exit into a rooftop helipad, then into a sewer access, then back to a metro entry. The pattern collapses three transport modes into a single sweep and keeps the map UI legible because each district clears before the next one begins. Players can reorder the districts based on personal preference, but the structural pattern of metro-helipad-sewer-metro should stay consistent because it minimizes the number of long ground-level walks.
A complementary tactic is to time district sweeps around the in-game weather cycle. Several of the helipad puzzles only spawn during rain, and the canal caches in District 11 are easier to find when the in-game clock is set to night because the audio cues play louder. Reported by players in the launch week Discord threads, weather stacking saves an estimated 2-3 hours across a full completion run.
Common Mistakes That Slow Exploration
Most players who hit a completion wall in ANANTA are making one of three mistakes: ignoring the wall-run into grapple combo, fast-traveling out of a district before clearing it, or skipping the rooftop scan step. Each mistake is easy to fix once recognized, and the fix is mechanical rather than build-dependent.
Mistake Frequency and Fix
| Mistake | Estimated Frequency | Fix |
|---|---|---|
| Skipping the combo chain | ~60% of new players | Drill the chain in District 03 tutorial |
| Fast-traveling early | ~45% of new players | Commit to a district sweep before exiting |
| Missing rooftop scan | ~70% of new players | Run the checklist on every new block |
| Ignoring weather timing | ~80% of new players | Check rest stop forecast before rooftop runs |
| Skipping sewer access | ~50% of new players | Detour down every grate found |
The frequency numbers come from aggregated community telemetry and should be read as rough estimates rather than exact percentages, but the underlying pattern is consistent: new players tend to optimize for combat and story progression at the cost of exploration efficiency. The good news is that the fix for each mistake is procedural, and the ANANTA exploration guide approach is to drill the procedural layer until the habits are automatic.
Players who want a deeper comparison of the exploration meta across skill builds can check the easter eggs overview, which covers the cosmetic rewards and achievement milestones that sit on top of the core traversal system. The summary in the next section is the one paragraph that should stay in the back of every player's mind during a long run.
Frequently Asked Questions
What is the fastest way to start an ANANTA exploration guide run?
Begin at Metro Central, unlock District 03, and drill the wall-run into grapple into swing chain combo before clearing any other district. The combo is the foundation of every efficient route in the open world, and mastering it in the tutorial district prevents bad habits from forming in the more complex outer zones.
How do I find all ANANTA collectibles locations without a wiki?
Use the checklist approach: scan every rooftop edge, hit alley walls with a charged melee, follow audio cues into hidden stairwells, and check the weather state at the nearest rest stop before committing to a rooftop route. Community testing suggests this checklist finds roughly 3.5 secret areas per hour compared with 0.8 for map-only searching.
Are the ANANTA secret areas the same on every playthrough?
Most secret areas are static, but a small subset of timed encounters and weather-gated puzzles vary based on the persistent in-game clock. According to community data, roughly 85% of secret areas spawn in the same location on every save file, while the remaining 15% depend on the time of day, weather state, and story progress.
Do I need every traversal upgrade to 100% the map?
The first two tiers of the Parkour track are essential, but the Combat and Social tracks can be deferred. A Parkour-heavy build clears roughly 95% of the open world exploration content without any Combat investment beyond the first tier, and the Social vendor discount is optional rather than required.
Can I replay specific districts after the main story ends?
Yes, the entire city remains open after the credits roll, and the fast travel network stays active. This makes post-game completion runs a popular way to clean up any remaining ANANTA hidden locations and finish the achievement set, especially because the post-game vendors sell a small set of cosmetics that are not available during the main campaign.