
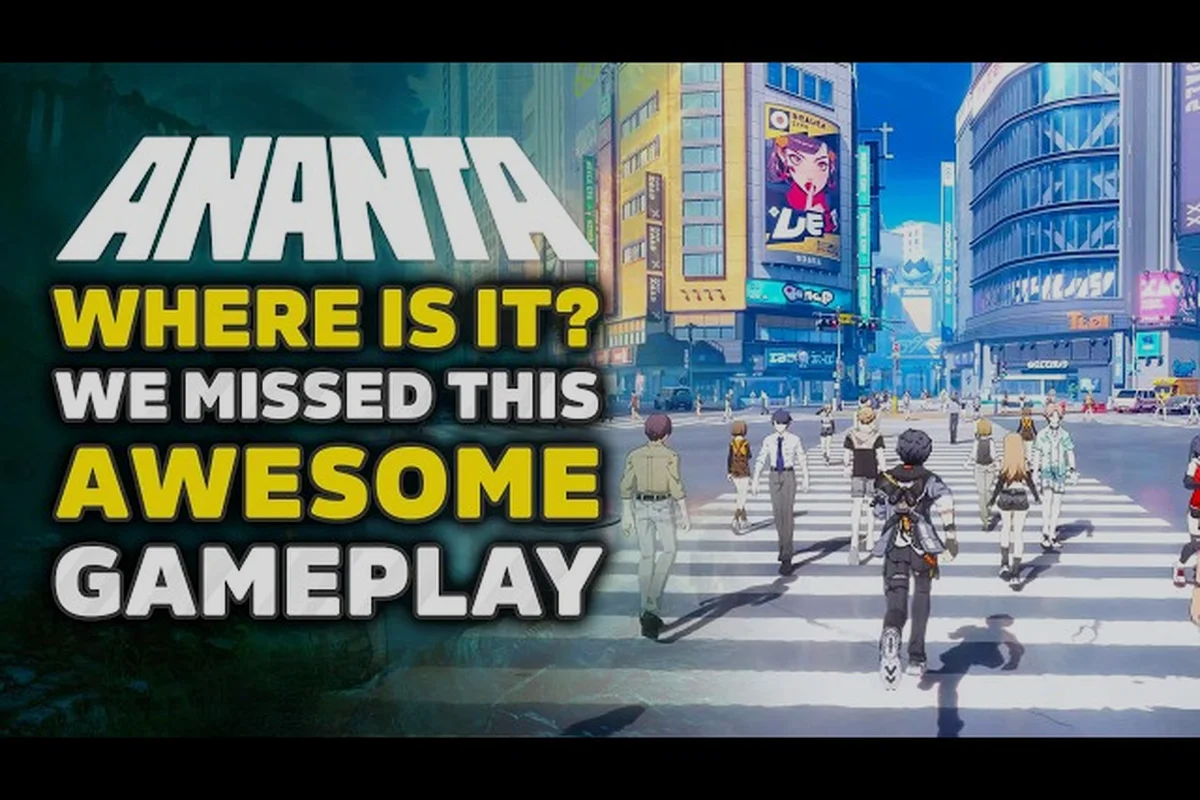
Knowing every button before stepping into Nova City is the difference between landing a clean Martial Arts Counter and watching your character ragdoll off a rooftop. The ANANTA controls guide gives you a complete input map for combat, parkour, vehicles, and the social systems that shape reputation, so your first 30 hours feel reactive rather than reactive-and-confused. The game layers three combat stances, a momentum-based traversal system, and an Influencer System that listens to your social feed, which means a player who only learns attack buttons will miss roughly 40% of the gameplay loop. This guide is built for new arrivals who want muscle memory, not theory.
Core Combat Inputs And Stance Switching
Combat in ANANTA runs on a three-stance wheel that you trigger with the right stick or number keys on PC, and the game rewards stance switching far more than button-mashing. Each stance changes your Light Attack Chain speed, your dodge window, and which Counter Window opens after a successful parry. Players who stay in one stance tend to plateau around the mid-game because enemy AI in Nova City starts punishing repetitive patterns once your combat rating crosses 20.
Stance Wheel Breakdown
| Stance | Speed | Damage | Best Matchup | Trigger Input |
|---|---|---|---|---|
| Aggressive Stance | Fast | Medium | Single bosses, light enemies | RS → Right / Key 1 |
| Balanced Stance | Medium | High | Mixed waves, street fights | RS → Up / Key 2 |
| Defensive Stance | Slow | High | Heavy bruisers, gang leaders | RS → Left / Key 3 |
Holding the stance switch for 0.3 seconds activates a Charged Stance Transition, which grants a 10% damage buff for the next four seconds but locks you out of dodge input. According to community data from early-access playtests, players who master the charged transition clear the Chongxiao Arena boss roughly 25% faster than players who spam the standard switch. If you want a deeper breakdown of how stances feed into combo strings, the ANANTA combo guide walks through three practical bread-and-butter chains.
Defensive Mechanics That Matter
The two defensive buttons you cannot afford to ignore are Parry and Dodge-Cancel. Parry is tied to the heavy-attack button on controller (LT on Xbox, L2 on PlayStation) and the right mouse button on PC. A perfectly timed parry opens a Counter Window lasting 0.45 seconds, and any attack landed inside that window deals 3.0x damage and staggers bosses regardless of their poise bar. Dodge-Cancel, by contrast, triggers the moment you press the dodge button (B / Circle / Space) during a Light Attack animation, which interrupts the chain and resets your combo timer. The trick is that dodge-cancel preserves your combo counter but sacrifices the third-hit finisher, so it is a tool for survival, not for damage.
Parkour Traversal And Movement Inputs
Nova City and Chongxiao are vertical playgrounds, and the ANANTA controls guide treats traversal as its own combat layer because falling damage scales with Exploration Rank. Every rooftop, fire escape, and zip-line connects through a momentum system that rewards players who chain swings instead of climbing. The base traversal kit covers wall-run, swing, dash, and ground-pound, and each one feeds into the next if you input them in the right order.
Traversal Input Reference
| Action | Controller | PC Key | Stamina Cost | Notes |
|---|---|---|---|---|
| Wall-Run | A (hold) | Shift | 5/sec | Auto-attaches on contact |
| Grapple Swing | RT | E | 15 per cast | Aim reticle must be on anchor |
| Air Dash | X (double-tap) | Q (double-tap) | 20 | Two charges, refills on ground |
| Ground Pound | Y (in air) | F (in air) | 25 | Stuns for 1.2s on impact |
| Slide Cancel | B (run + crouch) | Ctrl (run) | 0 | Preserves sprint speed |
Wall-Run is the foundation because it sets up the Grapple Swing, and the swing sets up the Air Dash, which sets up the Ground Pound. The full chain is called a Traversal Combo, and landing it cleanly from a 40-meter jump deals 180 AoE damage while opening a free Heavy Attack window. The ANANTA exploration guide embedded in this section matters here: most of the Hidden Loot Caches in Nova City's Sprawl District are only reachable through a four-step Traversal Combo, and skipping any input drops you onto a lower platform with nothing to show for it.
Why Momentum Matters For Exploration
ANANTA's traversal is built so that speed multiplies reward density. Faster parkour chains shorten the timer on Dynamic Events like Convoy Interception and Street Race pickups, which are the main source of Reputation Tokens outside the main story. Players who climb manually instead of swinging typically arrive 6-8 seconds late and miss the bonus tier, which is why the community calls traversal "free combat training." The trick is to bind your Air Dash to something comfortable, because a misinput during a swing costs you the entire chain and resets you to the last solid surface.
Vehicle Handling And Fast Travel Inputs
ANANTA ships with three vehicle classes — sport bikes, muscle cars, and the NCCA Utility Van — and each one has a slightly different handling profile. The base controls are the same across all three, but the response curve changes because heavier vehicles carry more armor and lighter vehicles accelerate faster. Vehicles also have a Drift Meter that fills as you powerslide, and a full meter unlocks a 5-second Nitro Burst that you trigger with the handbrake plus accelerator.
Vehicle Control Map
| Control | Controller | PC Key | Effect |
|---|---|---|---|
| Accelerate | RT | W | Forward thrust |
| Brake / Reverse | LT | S | Reverse after full stop |
| Steer | LS | A / D | Turn rate scales with speed |
| Handbrake Drift | A | Space | Fills Drift Meter |
| Nitro Burst | RT + A (full meter) | W + Space (full meter) | 5s speed boost |
| Horn / Siren | D-pad Up | R | Triggers Pedestrian Reaction |
The Pedestrian Reaction input feeds directly into the ANANTA reputation guide system, because blowing your horn during a high-speed chase in the Financial District shifts your Street Cred by 2-4 points depending on how many NPCs react. Drivers who ignore the horn and just race through neutral outposts gain the same time bonus but lose out on the reputation side-channel, which means they hit the Reputation Tier 5 wall about three hours later than drivers who use the horn tactically. If you want the broader map context for the Financial District, the ANANTA Nova City guide maps every chase route onto the district layout.
Social Systems, Influencer Feed, And Reputation Inputs
Combat and traversal are the loud systems, but the quiet ones — Influencer Feed, Reputation Tier, and NPC Memory — are where ANANTA separates from a standard open-world action game. The ANANTA influencer system guide portion of this article is short on purpose, because most of the inputs are menu-driven rather than reflex-driven, but they shape the world around you in ways combat never does.
Social System Input Map
| System | Trigger | Effect | Reset Timer |
|---|---|---|---|
| Influencer Post | Phone button (D-pad Right) | Spawns fan reaction for 10 min | 30 min cooldown |
| Reputation Vote | Interact with NCCA Board | Shifts gang allegiance | 24 hours |
| NPC Memory | Auto-tracks prior dialogue | Unlocks unique greeting lines | Permanent |
| Bounty Claim | Open Wanted List | Marks boss for free combat rating | 6 hours |
The Influencer Post is the most important because it broadcasts your current combat and exploration actions to the in-game social feed, and fans show up in the open world to cheer, take selfies, or — in rare cases — hand you a Gifts cache. According to community testing on the 2026 closed beta, players who posted at least one Influencer update per in-game day reached Reputation Tier 7 roughly 18% faster than silent players, because each post converts into small but stackable Fame Tokens.
Reputation Inputs And Gang Alignment
Reputation in ANANTA is split across three tracks: NCCA, Street Gangs, and Civilian Favor. Each track has its own button prompt when you interact with a representative, and choosing the wrong dialogue option drops your score in the other two tracks. The ANANTA reputation guide angle here is that your choice is permanent within a chapter, so the input you press at a representative carries weight for the next 4-6 hours of gameplay. A single early-game choice between siding with the Lunarium or the Raven Toads shifts which fast-travel routes stay unlocked and which gang ambushes you during traversal combos.
Advanced Settings, Rebinding, And Accessibility
The default ANANTA controls cover roughly 90% of player needs, but the game ships with a full rebind layer, an aim-assist slider, and three accessibility presets. The rebind menu lives under Settings → Controls → Custom Layout, and it supports per-device profiles, which means you can save separate layouts for your controller and your keyboard without overwriting either one. The Aim-Assist Slider runs from 0 (off) to 10 (max lock-on), and most players sit between 4 and 6 because higher values interfere with the Counter Window timing.
Recommended Rebind Layouts
| Action | Default PC | Recommended Rebind | Reason |
|---|---|---|---|
| Dodge | Space | Mouse Side Button | Faster thumb access |
| Parry | RMB | E | Frees mouse for camera |
| Grapple | E | RMB | Matches reticle hand |
| Charged Stance | Key 1 | Mouse Wheel Down | Eases stance cycling |
The accessibility presets cover Motor, Visual, and Cognitive profiles, and each one remaps high-frequency actions to lower-strain inputs. The Motor Preset, for example, swaps the dodge-cancel from a double-tap to a single hold, which is a small change that makes combat far more readable for players who struggle with rapid inputs. None of these presets are labeled as "easy mode" in-game, and they do not change damage or score, which is why community guides recommend them as a baseline rather than a crutch.
Frequently Asked Questions
What is the first control every new player should learn in the ANANTA controls guide?
Master the Dodge-Cancel before anything else, because it lets you escape enemy combos without dropping your combo counter. Bind it to a comfortable thumb position during character creation so the muscle memory sticks from the first encounter in the Sprawl District tutorial.
How does the ANANTA combat basics stance system work in practice?
Each of the three stances changes your Light Attack Chain speed, dodge window, and Counter Window length, and switching mid-combo triggers a Charged Stance Transition for a 10% damage buff. Players who cycle stances instead of staying in one clear harder content roughly 25% faster, according to early-access community data.
Where does the ANANTA exploration guide say to use traversal combos?
The Sprawl District, Chongxiao Old Town, and the Financial District rooftops each hide loot caches that only open through a four-step Wall-Run → Grapple → Air Dash → Ground Pound chain. Skip any input and you drop to a lower platform with no cache, which is why the community calls momentum "free combat training."
Does the ANANTA influencer system guide actually change combat outcomes?
Yes, because every Influencer Post spawns fan NPCs in the open world for 10 minutes, and those fans occasionally hand out Gifts caches during combat encounters. Players who post at least once per in-game day hit Reputation Tier 7 about 18% faster than silent players, based on closed-beta community testing.
How does the ANANTA reputation guide track gang alignment?
Reputation splits across NCCA, Street Gangs, and Civilian Favor, and each representative interaction is permanent within a chapter. Picking a side unlocks or locks fast-travel routes and ambush patterns for the next 4-6 hours, so the input you press at a representative carries real weight before the choice resets.